Repair & Refresh Brickwork with Tuck Pointing: DIY Tips for Small Jobs
Tuck pointing is one of those home maintenance projects that you might not think of until you notice cracks in the mortar or loose bricks on your chimney or walls. The good news, if you act when the first signs appear, use the right tools and follow a good step-by-step process, do it yourself tuckpointing is a great skill you can learn to protect your home and save some money.
If you’re like most people, you may wonder: what is tuckpointing? It’s a repair process where you remove the deteriorated motor from between the bricks and replace it with fresh mortar. This helps keep your brickwork looking neat and fresh while creating a barrier to protect your home from moisture damage and structural issues.
Key Takeaways:
Tuckpointing Strengthens Brickwork and Protects Your Home

At its core, tuckpointing is about maintenance and protection.
Brickwork is a classic and beautiful option that also provides several functional benefits to your property. Brick is joined using mortar, which not only holds the bricks together but also creates a seal between them. Over time, water from rain and snow seeps in and expands and contracts with freezing and thawing, extreme heat, and even shifts in your home’s foundation can weaken the mortar, creating cracks and crumbling. When damaged mortar isn’t promptly fixed, this deterioration can lead to damage that is not only unsightly, but it can also let water in behind the brick, leading to expensive water damage and even structural damage to your home.
That’s where tuckpointing makes a big difference.
By removing and replacing cracked or crumbling mortar, you reinforce the bond between bricks, prevent water from seeping in, and extend the lifespan of your masonry.
Also Read:
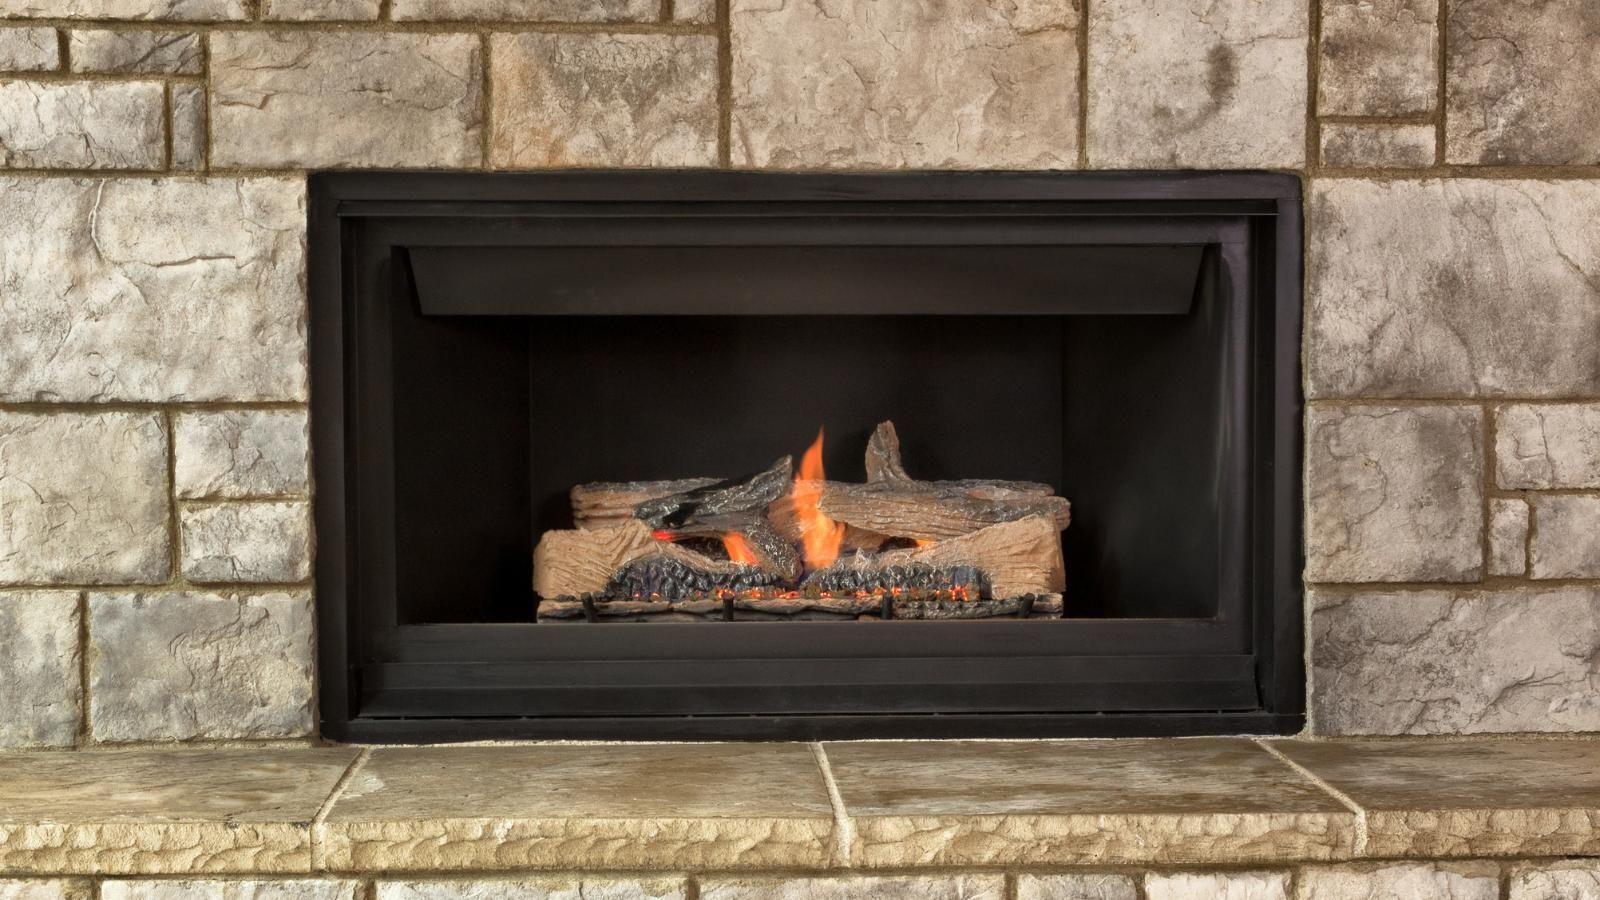
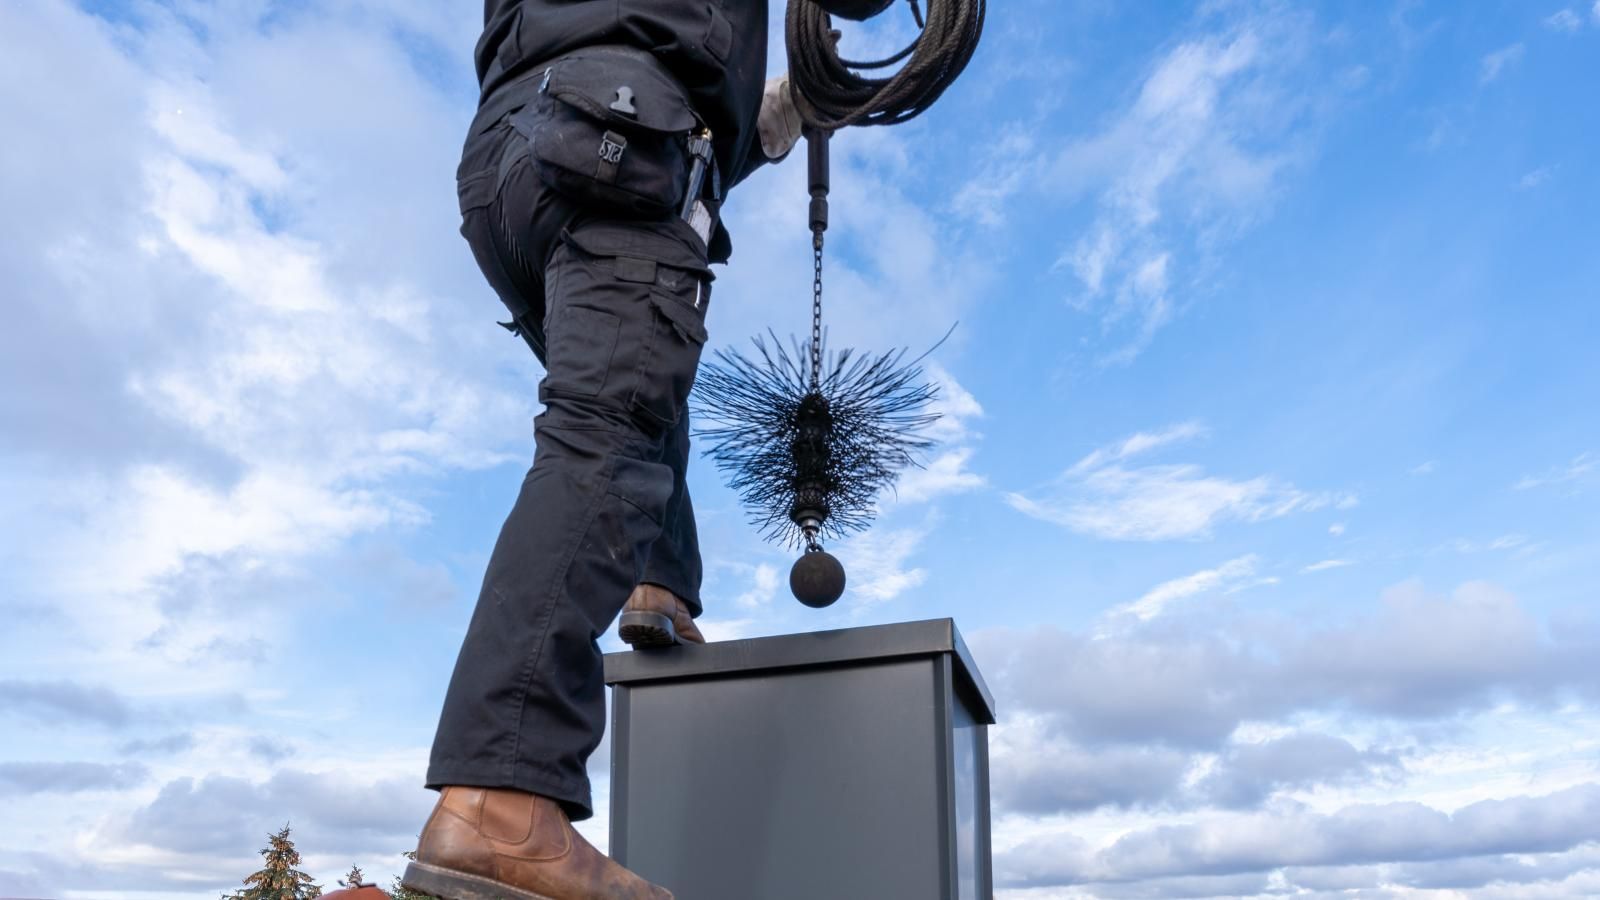
What You Need to Know About Chimney Sweeping
Signs Your Brick Mortar Needs Tuckpointing
Is your brickwork showing signs of damage such as crumbling mortar that easily flakes or collapses when touched, visible cracks, moisture stains, or gritty white salt deposits (Also called efflorescence) on the brick surface?
It may be time to embark on a do it yourself tuckpointing project.
Start by examining high-exposure areas like chimneys, exterior walls, and garden retaining walls.
If the visible damage is in a small area, a few feet of chimney, joins or a patch of wall, you may be able to manage this repair yourself. But if the problem is widespread, involves high or hard-to-reach places, or includes loose bricks, it’s wise to consult a professional to assess the damage first.
Tools and Materials for DIY Tuckpointing
Set yourself up for success before starting a do it yourself tuckpointing job by gathering the right tools, materials and safety gear. Having all your tools and equipment before you begin can help avoid injury, incomplete work and further damage. You can find most of these at your local hardware store or online. For items such as the cold chisel or angle grinder, some businesses offer tool rentals if you’re not ready to buy one up front.
Tools & Materials:
- Cold chisel or angle grinder (to remove old mortar)
- Tuck pointing trowel or pointing tool
- Mortar mix (typically Type N for residential use)
- Mixing bucket
- Joint rake or wire brush
Safety Gear:
- Protective gloves
- Safety goggles
- Dust mask or respirator
Step-by-Step Guide to Do It Yourself Tuckpointing For Small Jobs
Once you’ve gathered all of your equipment, there’s a basic process to follow to get the best results out of your tuckpointing project. Weather is an important factor; look for a span of 24-72 hours of relatively clear weather between 40°F and 80°F so the mortar can cure and create a more impermeable seal.
- Remove old mortar: Use a chisel or grinder to clear out damaged mortar about ½ inch deep
- Clean the joints: Brush out loose debris and dampen the area to improve mortar adhesion
- Mix mortar: Follow the product directions—aim for a consistency like peanut butter
- Apply new mortar: Use your tuck pointing tool to pack fresh mortar into the cleaned joints
- Smooth and finish: Shape the mortar to match existing lines and remove excess with a brush
- Allow time to cure:
Let the mortar set for 24–48 hours. Mist it occasionally if it’s hot or dry outside
How Much Does It Cost To Tuckpoint A Chimney Or Other Area? DIY vs. Hiring A Professional.
Provided the area needing repair is relatively small and easy to reach, it can be a cost-effective option to do yourself. We’ve created a generalized comparison below comparing how much tuckpointing costs using a DIY method or hiring a professional:
DIY Costs:
- Materials and basic tools: $50–$150
- Time investment: a few hours for a small area
- Learning curve: moderate, but manageable with online resources
Hiring a Pro:
- Tuckpointing cost for a small chimney: typically $300–$800
- How much does it cost to tuckpoint a chimney: around $500 on average
- How much does it cost to tuckpoint a house: $5–$25 per square foot, depending on job size and condition
If you’re confident with tools and it’s a small project, do it yourself tuckpointing can help you save hundreds while keeping your home in great shape.
Can You Revive Your Brickwork with Do It Yourself Tuckpointing?
From touching up a chimney or refreshing a brick wall that’s showing its age, do it yourself tuckpointing can be a confidence building and cost-effective way to maintain your home’s structure and curb appeal. Start with the right tools, reasonable goals and a little patience, and even first-time DIYers can tackle minor repairs confidently.
If things get too complex or you’re unsure about the stability of your brickwork, calling a professional is always the smart move.
For homeowners in the Kansas City area,
Best Chimney Services is ready to help with expert tuck pointing and full-service brick repair whenever you need it.